Selling in Presidio Heights is different. Buyers here expect polished, move-in ready homes with strong documentation, and they reward listings that feel turnkey. If you want a premium outcome, your plan needs to be clear, efficient, and aligned with what top-tier buyers value. In this guide, you’ll get a step-by-step approach to inspections, repairs, styling, and timing so you maximize value and avoid costly detours. Let’s dive in.
Market snapshot and buyer expectations
Presidio Heights is a small, luxury micro-market with limited inventory. Published snapshots vary widely because of small sample sizes and different filters, with medians ranging from the high $2 millions to well above $4 million, and even higher for single-family trophies. The takeaway is simple: use current, hyper-local comps to set strategy, not broad rules of thumb.
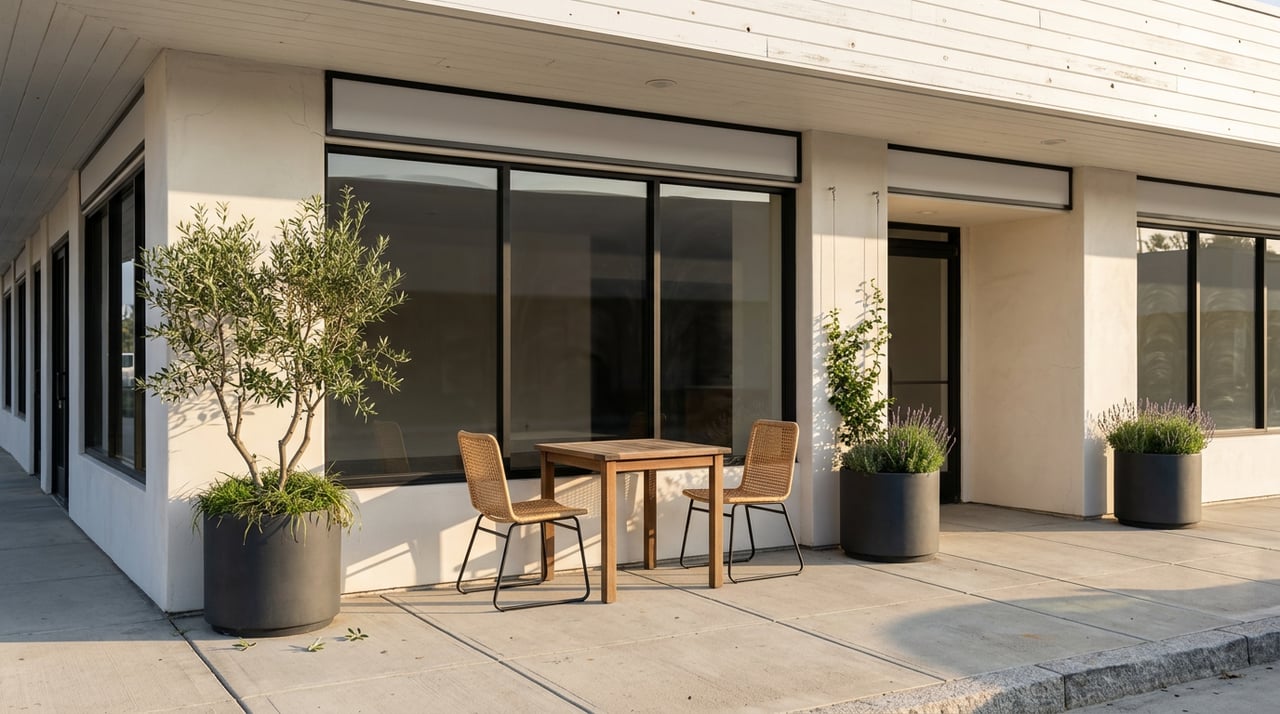
Premium buyers in this area look for turn-key condition, high-quality kitchens and primary baths, privacy and outdoor entertaining space, secure parking, preserved period details when appropriate, strong mechanicals, and a clear permit history. Readiness, documentation, and a strong visual presentation often drive price more than expensive last-minute remodels.
Pre-listing legal checklist (San Francisco)
Handle these early so your deal stays clean and fast:
- Order the 3R report. San Francisco requires a Report of Residential Building Record to be delivered to buyers before close. Order it as soon as you sign the listing agreement through the city’s DBI records portal.
- Energy and water conservation items. San Francisco has point-of-sale conservation requirements. Plan inspections and gather proof of compliant fixtures and measures. Review the program details and exemptions, then build time into your prep plan using this energy and water conservation overview.
- Lead-based paint (pre-1978). If your home was built before 1978, include the EPA pamphlet and disclosures, and allow buyers an inspection window unless they waive it. Access the official EPA lead brochure.
- COPA for 3+ unit buildings. If you are selling a property with three or more residential units, San Francisco’s Community Opportunity to Purchase Act requires nonprofit notifications before marketing. Confirm applicability early. Learn more about COPA requirements.
- Sewer lateral awareness. Private sewer laterals are the owner’s responsibility. Requirements can vary by jurisdiction and project scope. Check with SFPUC/DPW on what may be triggered, and consider a plumber’s video inspection. Start with SFPUC guidance.
Prioritize repairs that protect value
Focus first on items that preserve safety, trust, and deal velocity:
- Safety and systems first. Address structural concerns, active leaks, significant electrical hazards, failing HVAC or hot-water systems, and obvious seismic vulnerabilities.
- Permits and documentation. Resolve unpermitted work when practical or assemble solid permit research. Buyers and lenders will ask, and clear records reduce friction.
- Visible defects. Eliminate red flags like peeling paint, water stains, rotten trim, and damaged floors. Your first 10 seconds at a showing matter.
- Targeted cosmetic refresh. Use fresh neutral paint, updated hardware, modern lighting, landscaping touch-ups, and a thorough deep clean.
- High-ROI, limited-scope upgrades. National Cost vs. Value data shows exterior curb appeal projects, garage and entry doors, and minor kitchen refreshes tend to recoup a higher share of cost than big upscale gut remodels. Review the latest Cost vs. Value report to prioritize.
Pre-listing inspection strategy
A seller-ordered inspection package reduces renegotiation surprises and signals confidence. Consider:
- General home inspection.
- Wood-destroying organism (termite) report.
- Targeted roof, foundation, HVAC, or plumbing evaluations when signs suggest issues.
- Sewer lateral video if age, trees, or past backups raise concern.
With reports in hand, you can decide whether to fix, credit, or price accordingly. Documentation also helps premium buyers move faster with fewer contingencies.
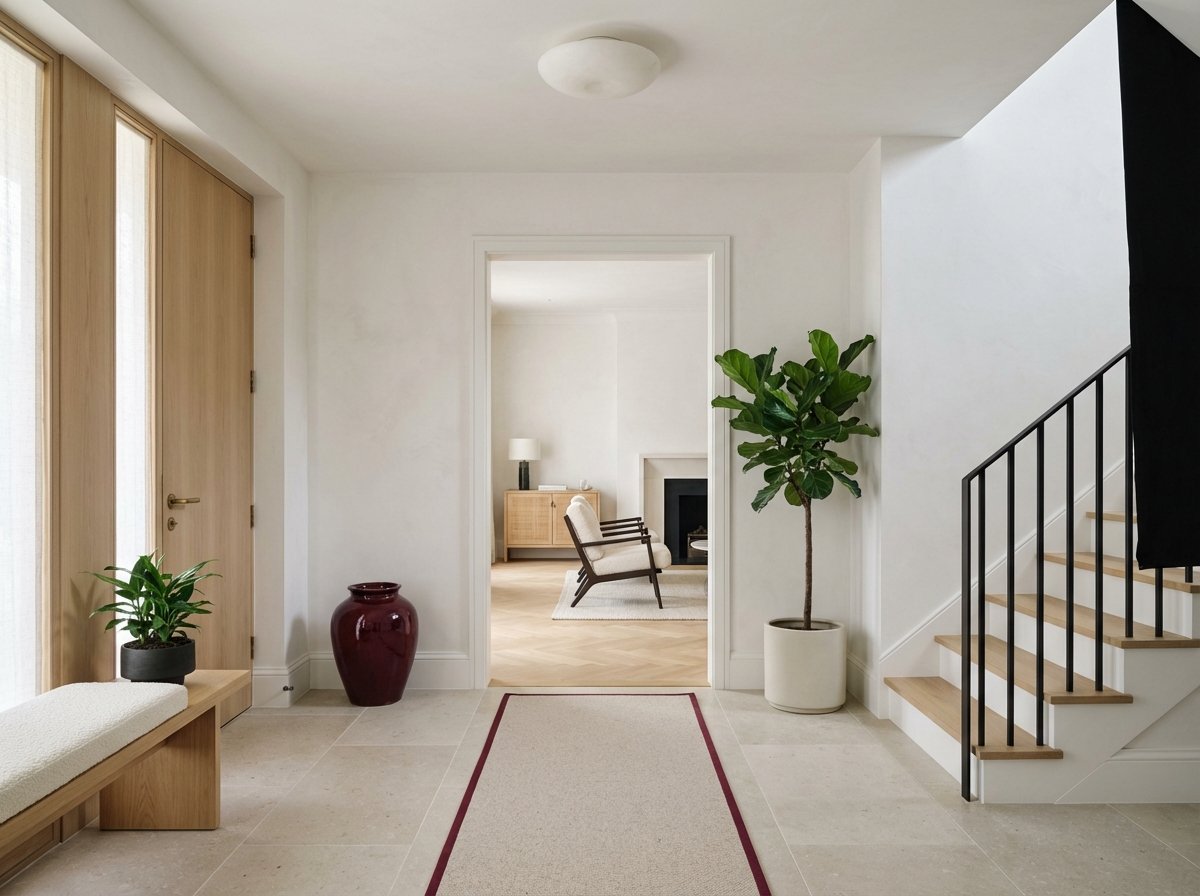
Styling and staging for a premium impression
Professional staging helps buyers visualize and can shorten days on market. Industry research from NAR notes staging often contributes to stronger offers. Learn why staging matters in this NAR staging overview.
Prioritize these spaces:
- Living and dining areas that show scale and flow.
- Kitchen with fresh counterscape, lighting, and hardware updates when useful.
- Primary suite that reads calm and hotel-like.
- Outdoor areas styled for dining and conversation to highlight privacy and entertainment potential.
Staging options and cost:
- Consultation or partial staging for select rooms can be very effective.
- Full-home staging elevates vacant homes into magazine-level presentations.
- Virtual staging is a lower-cost option for vacant spaces, but it must be labeled clearly and match reality at showings.
For context on typical ranges, review these national staging statistics and cost summaries. Balance spend against expected uplift in your price tier.
Your core vendor team
- Licensed home inspector and WDO specialist.
- Structural engineer if foundation or framing concerns arise.
- Licensed plumber for sewer lateral video as needed.
- Licensed HVAC contractor to service and document older systems.
- Certified electrician for panel checks and GFCI updates.
- Professional stager and stylist.
- Real estate photographer, drone operator, and 3D tour vendor.
- House cleaning/detail team.
- Landscape and irrigation contractor for curb appeal.
Photography and marketing that fit luxury
Your first 24 to 72 hours online set the tone. Production standards to expect:
- Professional interior and exterior photography, including well-timed twilight shots. Consider drone images when park proximity, views, or lot context matter. See production best practices in this NAR staging and marketing piece.
- Matterport or similar 3D tour for remote and international buyers.
- Professionally drafted floor plans and a printable brochure with high-res photography and a concise features sheet that lists mechanicals, recent upgrades, permits, and parking.
Timing tip: early spring often performs well for San Francisco’s luxury segment. Align photography, staging, and disclosures so you can launch cleanly into the window that local comps support.
Your 8-week preparation timeline
Use this conservative plan to keep control and avoid rush decisions:
Week −8 to −6
- Order the 3R and begin permit research via the DBI records portal.
- Book pre-list inspections: general + WDO; add targeted roof/foundation/HVAC or sewer video if warranted.
- If your property is 3+ units, start the COPA notification process.
- Map energy and water conservation tasks and schedule service calls. Reference the local conservation overview.
Week −6 to −4
- Complete safety and systems repairs and resolve any code-critical items.
- Tackle high-ROI curb appeal fixes and minor interior refreshes. Weigh larger projects with the Cost vs. Value report.
- Contract your stager, photographer, and 3D vendor; set dates.
Week −3 to −2
- Deep clean, declutter, and refresh landscaping.
- Install staging and styling touches.
- Capture professional photos, twilight exteriors, drone where appropriate, and 3D tour.
- Assemble your disclosure packet, including the 3R and the EPA lead pamphlet if pre-1978. Access the EPA lead brochure.
Week −1 and launch
- Host a broker open if using that strategy and prepare targeted outreach to top agents.
- Go live with strong visuals, full disclosures, and a polished brochure and floor plans.
- Monitor buyer feedback and respond quickly with documentation and clarifications.
Common mistakes to avoid
- Waiting to order the 3R. Delays here can stall escrow and undercut your momentum.
- Over-improving. Big, custom remodels often do not return dollar-for-dollar. Prioritize projects that data shows will recoup more of their cost using the Cost vs. Value report.
- Skipping pre-listing inspections. Surprises shift leverage to buyers and slow negotiations.
- Incomplete permit history. Missing documentation can scare off premium buyers or trigger tight contingencies.
- Underfunding staging and media. In this micro-market, presentation drives first-week outcomes.
Ready to list with confidence?
If you want a premium result, pair the right prep with precise pricing, polished marketing, and clear negotiation. For a tailored plan, current Presidio Heights comps, and vetted vendor introductions, connect with Jeff Marples and request a personalized market consultation.
FAQs
What is the San Francisco 3R report and when should I order it?
- The 3R is the city’s Report of Residential Building Record. Order it as soon as you list because it is required before transfer and processing can take time. Use the DBI records portal.
Do I have to replace fixtures for San Francisco’s conservation rules?
- You must comply with local energy and water conservation measures at point of sale unless an exemption applies. Review requirements and plan ahead using this program overview.
Should I remodel my kitchen before selling in Presidio Heights?
- Often a minor refresh has a better return than a full upscale gut remodel. Check comps and the latest Cost vs. Value data before committing to big spend.
Is professional staging worth it for a high-end San Francisco home?
- Yes. Staging helps buyers visualize and can shorten time on market, with many agents reporting stronger offers. See NAR’s staging insights.
What inspections should I order before listing?
- Start with a general home inspection and WDO, then add roof, foundation, HVAC, plumbing, or sewer video based on age, signs, and buyer expectations.
How far in advance should I start preparing to sell?
- Plan for 6 to 8 weeks to complete inspections, repairs, staging, photography, and disclosures. Start earlier if you aim for an early-spring launch.
Does COPA affect my sale if I own a multi-unit building?
- If your property has three or more residential units, you must follow San Francisco’s COPA notice process before marketing. Review the COPA requirements and consult early.